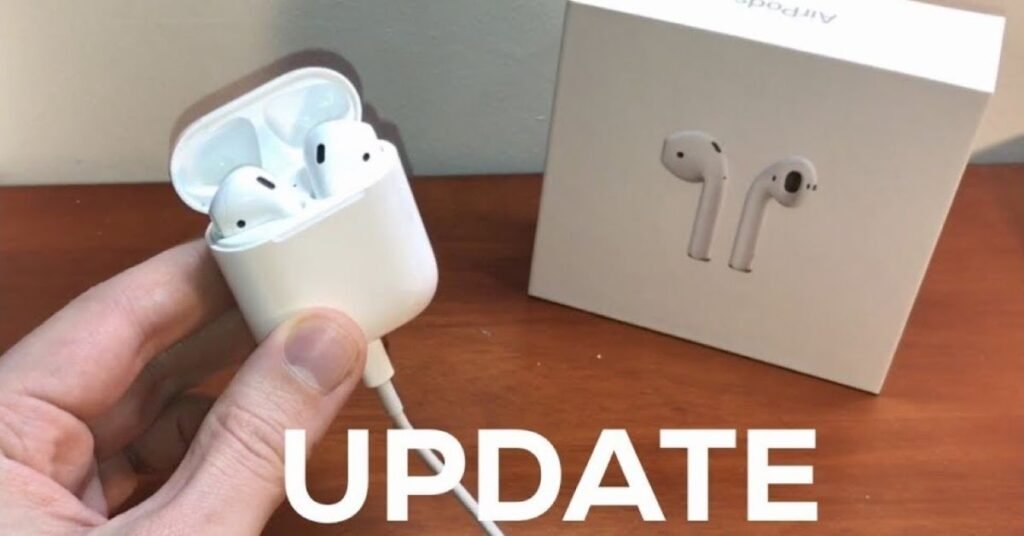
AirPods, like many Apple products, come with firmware that gets updated periodically. These updates often bring improvements in sound quality, stability, battery performance, and even new features. However, unlike other devices, AirPods update automatically when certain conditions are met. If you’re wondering how to ensure your AirPods are running the latest firmware, here’s a simple guide to help you.
Easy Steps to Install New Firmware on Your AirPords
1. Confirm Firmware Update
Do this before setting up the devices and see whether your AirPods firmware needs updating. Here is how to do it:
- For AirPods (1st, 2nd, or 3rd Generation), AirPods Pro, and AirPods Max
- Connect Your AirPods to Your iPhone or iPad:- Place your AirPods in your ears or in your charging case next to your device.
- Go to Settings: Open the Settings app on your iPhone or iPad.
- Tap ‘General’: Scroll down and tap on “General.”
- Tap ‘About’: Tap on “About” at the top of the General menu.
- Find Your AirPods: Scroll down until you see your AirPods listed. Tap on the name of your AirPods.
- Check Firmware Version: In this menu, you’ll see details about your AirPods, including the firmware version. Compare this with the latest available firmware version listed on Apple’s official website or other tech sources.
2. How to Update Your AirPods’ Firmware
While there’s no manual way to force the AirPods to update like on other Apple devices, they typically update automatically when certain conditions are met. To trigger the update, follow these steps:
Ensure Proper Conditions for an Update
- AirPods in the Charging Case: Place your AirPods in the charging case and make sure they’re properly seated.
- Charge the Case: This should have at least 50% charged or connected to a power source with the help of its Lightning cable or wirelessly with a Qi-compatible charger.
- Connect to WiFi:- Connect your iPhone or iPad to a stable Wi-Fi network.
- Keep Your iPhone or iPad Close: For the update to occur, your iPhone or iPad needs to be nearby. Keep your iPhone or iPad within range of the AirPods while the update is taking place.
- Leave the AirPods Alone for Some Time: Update processes usually happen in the background when the AirPods are charging and linked to your iPhone or iPad. You don’t have to do anything except leave them to rest for a while (it might take up an hour).
3. Confirm that the update is complete
Once you’ve left your AirPods to charge for a while, you can double-check the firmware version again by going back to the Settings → General → About → [AirPods Name]. If the firmware version has changed, your AirPods have successfully updated. If, after letting them sit connected for a little while, the firmware hasn’t updated, you could try again or make sure all conditions are met (Wi-Fi, charging, in proximity to your phone). Firmware can take a bit of time to roll out.
4. Troubleshooting Tips
If your AirPods are still not updating, here are some troubleshooting tips:
- Restart Your iPhone/iPad: Sometimes a quick restart helps the update process to complete.
- Reset Your AirPods: You can reset AirPods if you have tried the above and are still experiencing connectivity issues. For this purpose,
- Place the AirPods inside their case and keep the lid open.
- Press the setup button located at the back of the case until the light starts flashing amber then white.
- Reconnect your AirPods with your iPhone or iPad.
- Wait for the Next Update: Sometimes, updates roll out gradually, so if you haven’t received one yet, it might just take a bit longer.
5. What Happens During the Update?
AirPods firmware updates occur in the background, and you may not even notice that an update is taking place. Once the update is done, your AirPods will be back to normal, though the new firmware might bring with it new features or improvements you can enjoy right away. The update might not change the way the AirPods look or feel, but it could improve the performance, sound quality, or connectivity.
Conclusion
You can’t manually update the firmware on your AirPods, but it’s not that hard to make sure they are updated if you just charge them up, keep your devices near each other, and let them do their thing. Most of the time, you won’t even notice, and you’ll have the latest firmware. Enjoy the best performance your AirPods have to offer with minimal hassle! If you are ever in doubt, Apple’s support website frequently publishes the latest firmware versions and the changes they bring. Enjoy your listening!
Questions & Answers
To determine whether your AirPods need a firmware update, do the following:
1. Open Settings on your iPhone or iPad.
2. Tap General > About.
3. Scroll down and select your AirPods.
4. You will see a current firmware version of your AirPods listed there. Compare it with the latest firmware version available on the Apple official website or tech blogs. This will show you if an update is available or not.
No, AirPods do not have a manual update option like iPhones or Macs. Firmware updates are applied in the background, provided that the AirPods are charging, connected to your iPhone or iPad, and the phone is on Wi-Fi.
To force the update, you need
1. Make sure your AirPods are in their charging case and the case is plugged into power, either with a Lightning cable or wirelessly.
2. Make sure your iPhone or iPad is on Wi-Fi and near your AirPods.
3. Let your AirPods sit idle for a little while as they charge. The update will typically occur in the background within 1-2 hours.
Firmware updates usually take around 20-30 minutes to complete. Sometimes, it can take up to an hour or more depending on the stability of the Wi-Fi connection and whether the AirPods are charging properly.
If the update does not go through, it is because one of the necessary conditions (for example, charging, Wi-Fi connection) was not met. You can try these troubleshooting steps:
1. Make sure your AirPods are charging and the case retains at least 50% battery life.
2. Press the setup button on the back of the case until you see an amber blinking LED and it changes to white.
3. Restart your iPhone or iPad, and ensure that it’s connected to Wi-Fi.
4. Repeat the process and let the AirPods charge for an hour or so.
After leaving your AirPods to update, go back to Settings > General > About > [AirPods Name]. If the firmware version has changed, the update has been successfully applied.
Yes! Firmware updates can add new features, improve sound quality and eliminate bugs that make your AirPods malfunction from time to time. However, you may not know everything that goes on because the details are never spelt out. You probably won’t see big changes unless some feature is showcased, like spatial audio or improvement in noise cancellation.
Yes, you can use your AirPods even when updating their firmware. The update happens in the background; it typically does not interfere with using your AirPods once you have started its update. However, it is recommended that you leave the idle and charging ones to have better results.
No, it is simply any iPhone or iPad running iOS 10 or later that works for firmware updates on AirPods. Thus, if you meet the simplest basic requirements listed, you should be good to go.
Yes, updating firmware is done in an identical way to basic AirPods. Just keep them connected to your iPhone, charging, and in close proximity to your device with Wi-Fi enabled. No special steps required for this model.
If it’s not updating your AirPods, try the following:
1. Make sure your AirPods are fully charged or at least connected to a power source.
2. Your iPhone/ iPad must be connected to a stable Wi-Fi network and range of your AirPods.
3. You can try to reset your AirPods if they’re not updating after some time.
4. Check the Apple support pages for the latest updates or firmware issues.
Sadly, Apple does not provide an opportunity to downgrade or roll back the firmware update in the AirPods. If an issue arises post the firmware update, you just have to wait for the next official update from them.
To reset AirPods:
1. Place the AirPods in the charging case and open the lid.
2. Turn the case over and hold down the setup button until the status light flashes amber, then white.
3. Re-sync your AirPods and iPhone according to on-screen instructions.
4. Resetting of AirPods may solve problems resulting from firmware upgrades or connectivity issues.